In the world of manufacturing, few processes are as timeless and versatile as sand casting. Sand casting offers an accessible and cost-effective solution for all your production needs. This is whether you’re crafting intricate designs or large industrial components.
This guide will take you through the step-by-step process of sand casting products. We’ll help you ensure you have all the knowledge you need to create high-quality castings from design to finish.
Read on!
Design and Pattern Making
The first step in the sand casting process is to create a design that will be used to make the mold. This can be done through hand drawing, CAD software, or 3D printing. Once the design is finalized, a pattern must be created using wood, metal, or plastic materials.
It is important to note that when creating the pattern, it should have features that allow for proper air and metal flow within the mold. It should have draft angles to facilitate easy removal from the mold after casting.
The foundry equipment at this stage includes a molding flask, molding tools, and sand. The mold is prepared by packing the sand around the pattern in the flask, ensuring that it is tightly packed to prevent any defects in the final casting. If you are working on an intermountain precision casting foundry project, it is important to use foundry sand that has been properly conditioned and has moisture content.
Mold Preparation
This involves placing the pattern into a box known as a flask, which will be used to contain the sand and create the mold cavity. The flask is then filled with green sand – a mixture of silica sand, clay, and water – which is compacted around the pattern using specialized tools called rammers.
It is essential to ensure that the sand is evenly distributed and tightly packed to prevent any defects in the final casting.
Metal Melting and Pouring
The type of metal used will depend on the design and purpose of the casting. Common metals used include aluminum, iron, copper, and bronze.
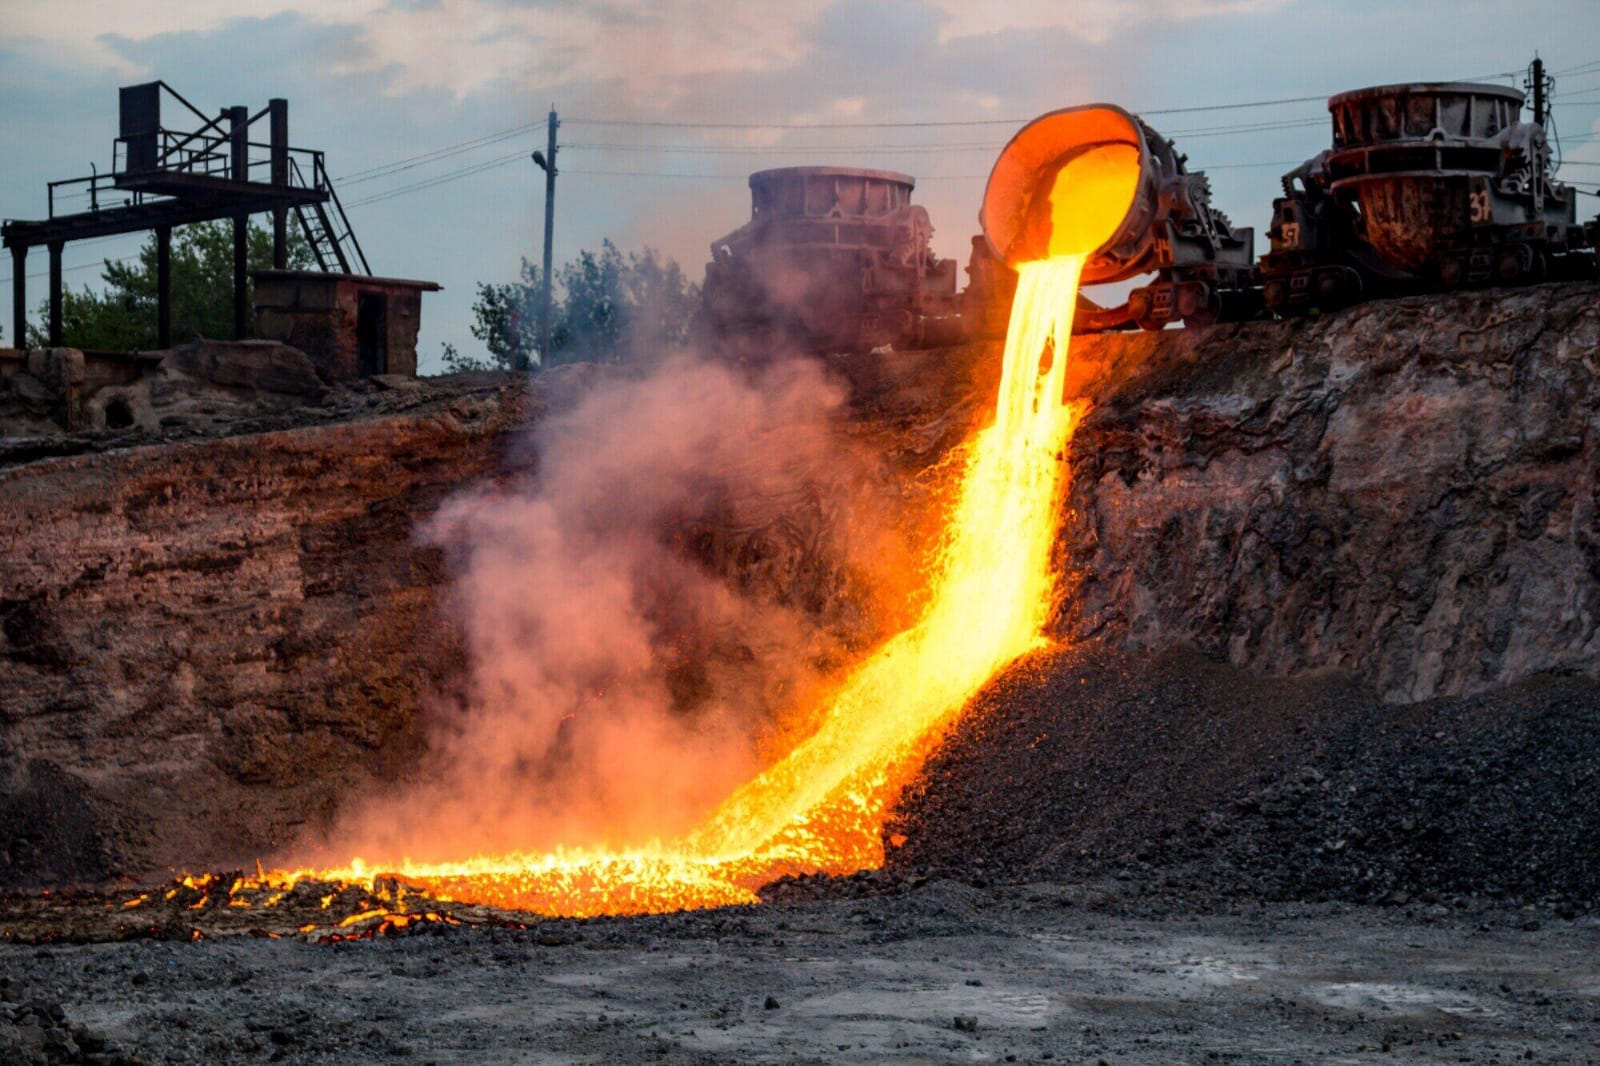
The molten metal is then poured into the mold through a gating system – a network of channels that allow for proper flow and filling of the mold cavity. It is crucial to control the temperature and speed of pouring to prevent any defects such as air pockets or incomplete fillings.
As long as you have the right foundry supplies and equipment, the metal pouring stage is relatively simple but also requires caution due to high temperatures and molten metal.
Cooling and Solidification
The cooling time will vary depending on the size and complexity of the casting, as well as the type of metal used. After cooling, the sand mold is broken apart using specialized tools to reveal the newly casted product. Any excess material or rough edges are removed through a process called trimming.
Finishing and Inspection
This involves removing any remaining sprue or gating material, as well as smoothing out the surface of the casting. Once this is done, the product undergoes a thorough inspection to ensure it meets all quality standards. Any defects or imperfections are fixed through various techniques such as welding, grinding, or heat treatment.
Follow this Step-by-Step Guide to Sand Casting Products
Sand casting is a versatile and cost-effective method of manufacturing high-quality sand casting products. By following the step-by-step guide outlined in this document, you can ensure that your castings are produced with precision and quality.
So whether you’re a beginner or an experienced manufacturer, get ready to embrace the timeless process of sand casting for all your production needs.
Read more from our blog!

